Buyer’s Guide / Mounting Options
Buyer’s GuideThe right mounting method keeps your plaque secure, level, and looking its best. Below are the options we offer — for walls, wood, soft ground, and freestanding posts — with what’s included and how each one installs.
Every installation site is different. The mount you choose depends on your surface (stone, masonry, hollow wall, or wood) and whether the plaque is wall-mounted or freestanding. Here’s a breakdown of each method.
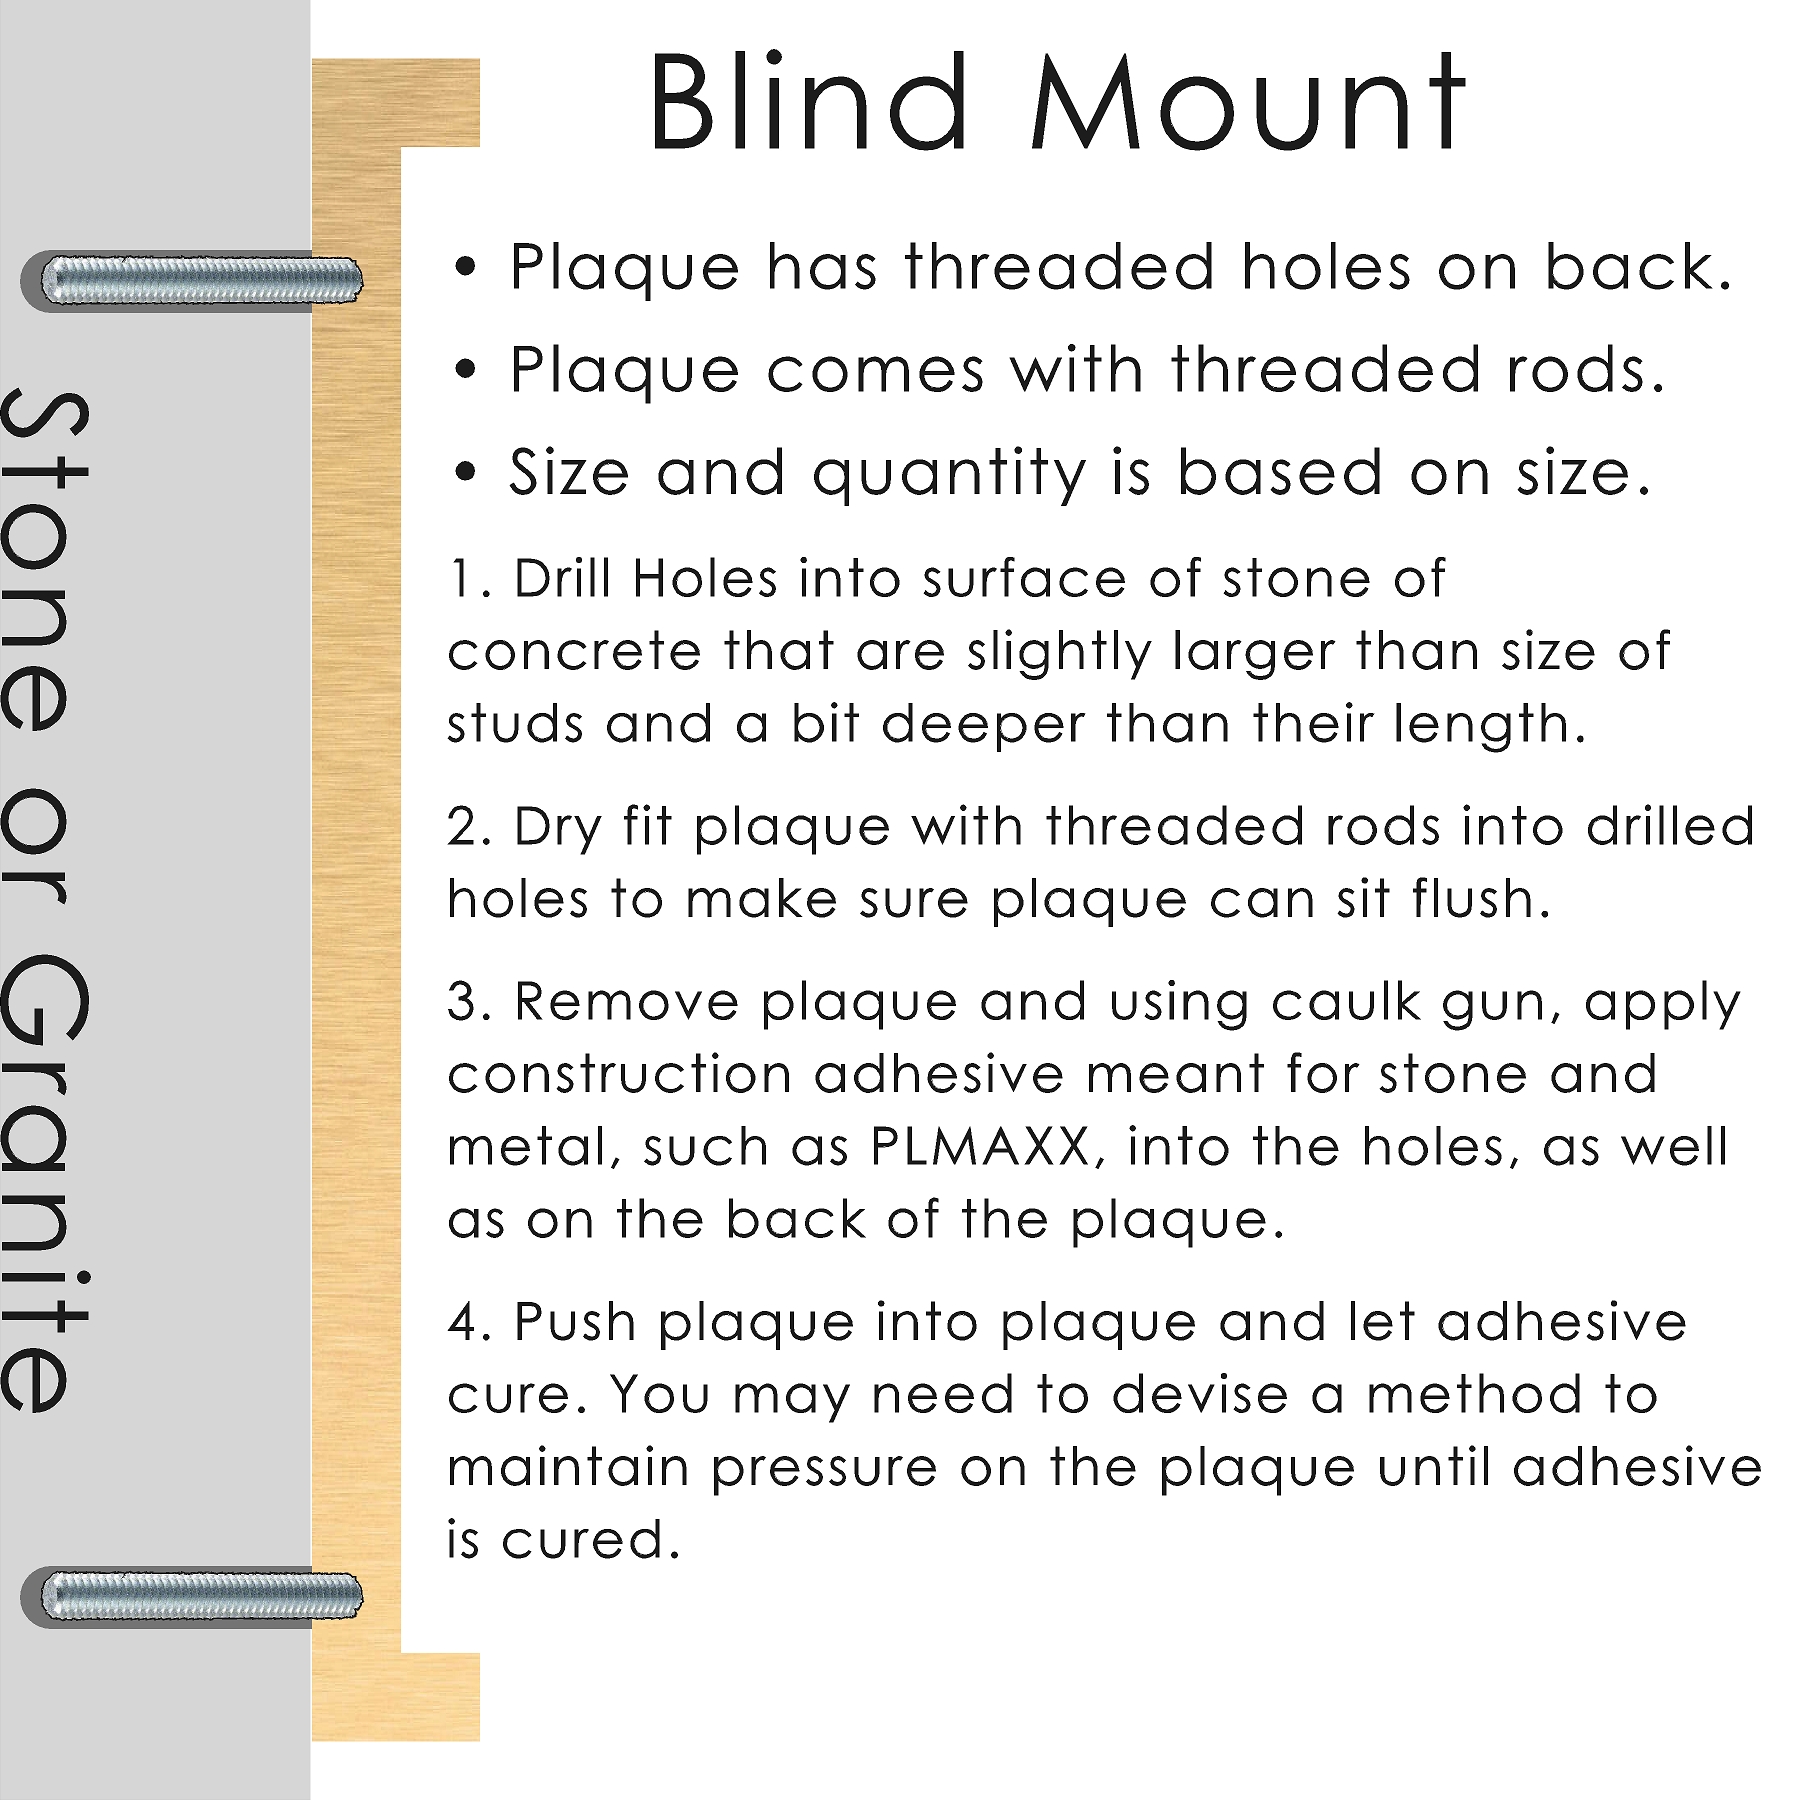
A clean, flush look with no visible hardware — ideal for smooth stone, brick, or concrete.
What you get
How to install
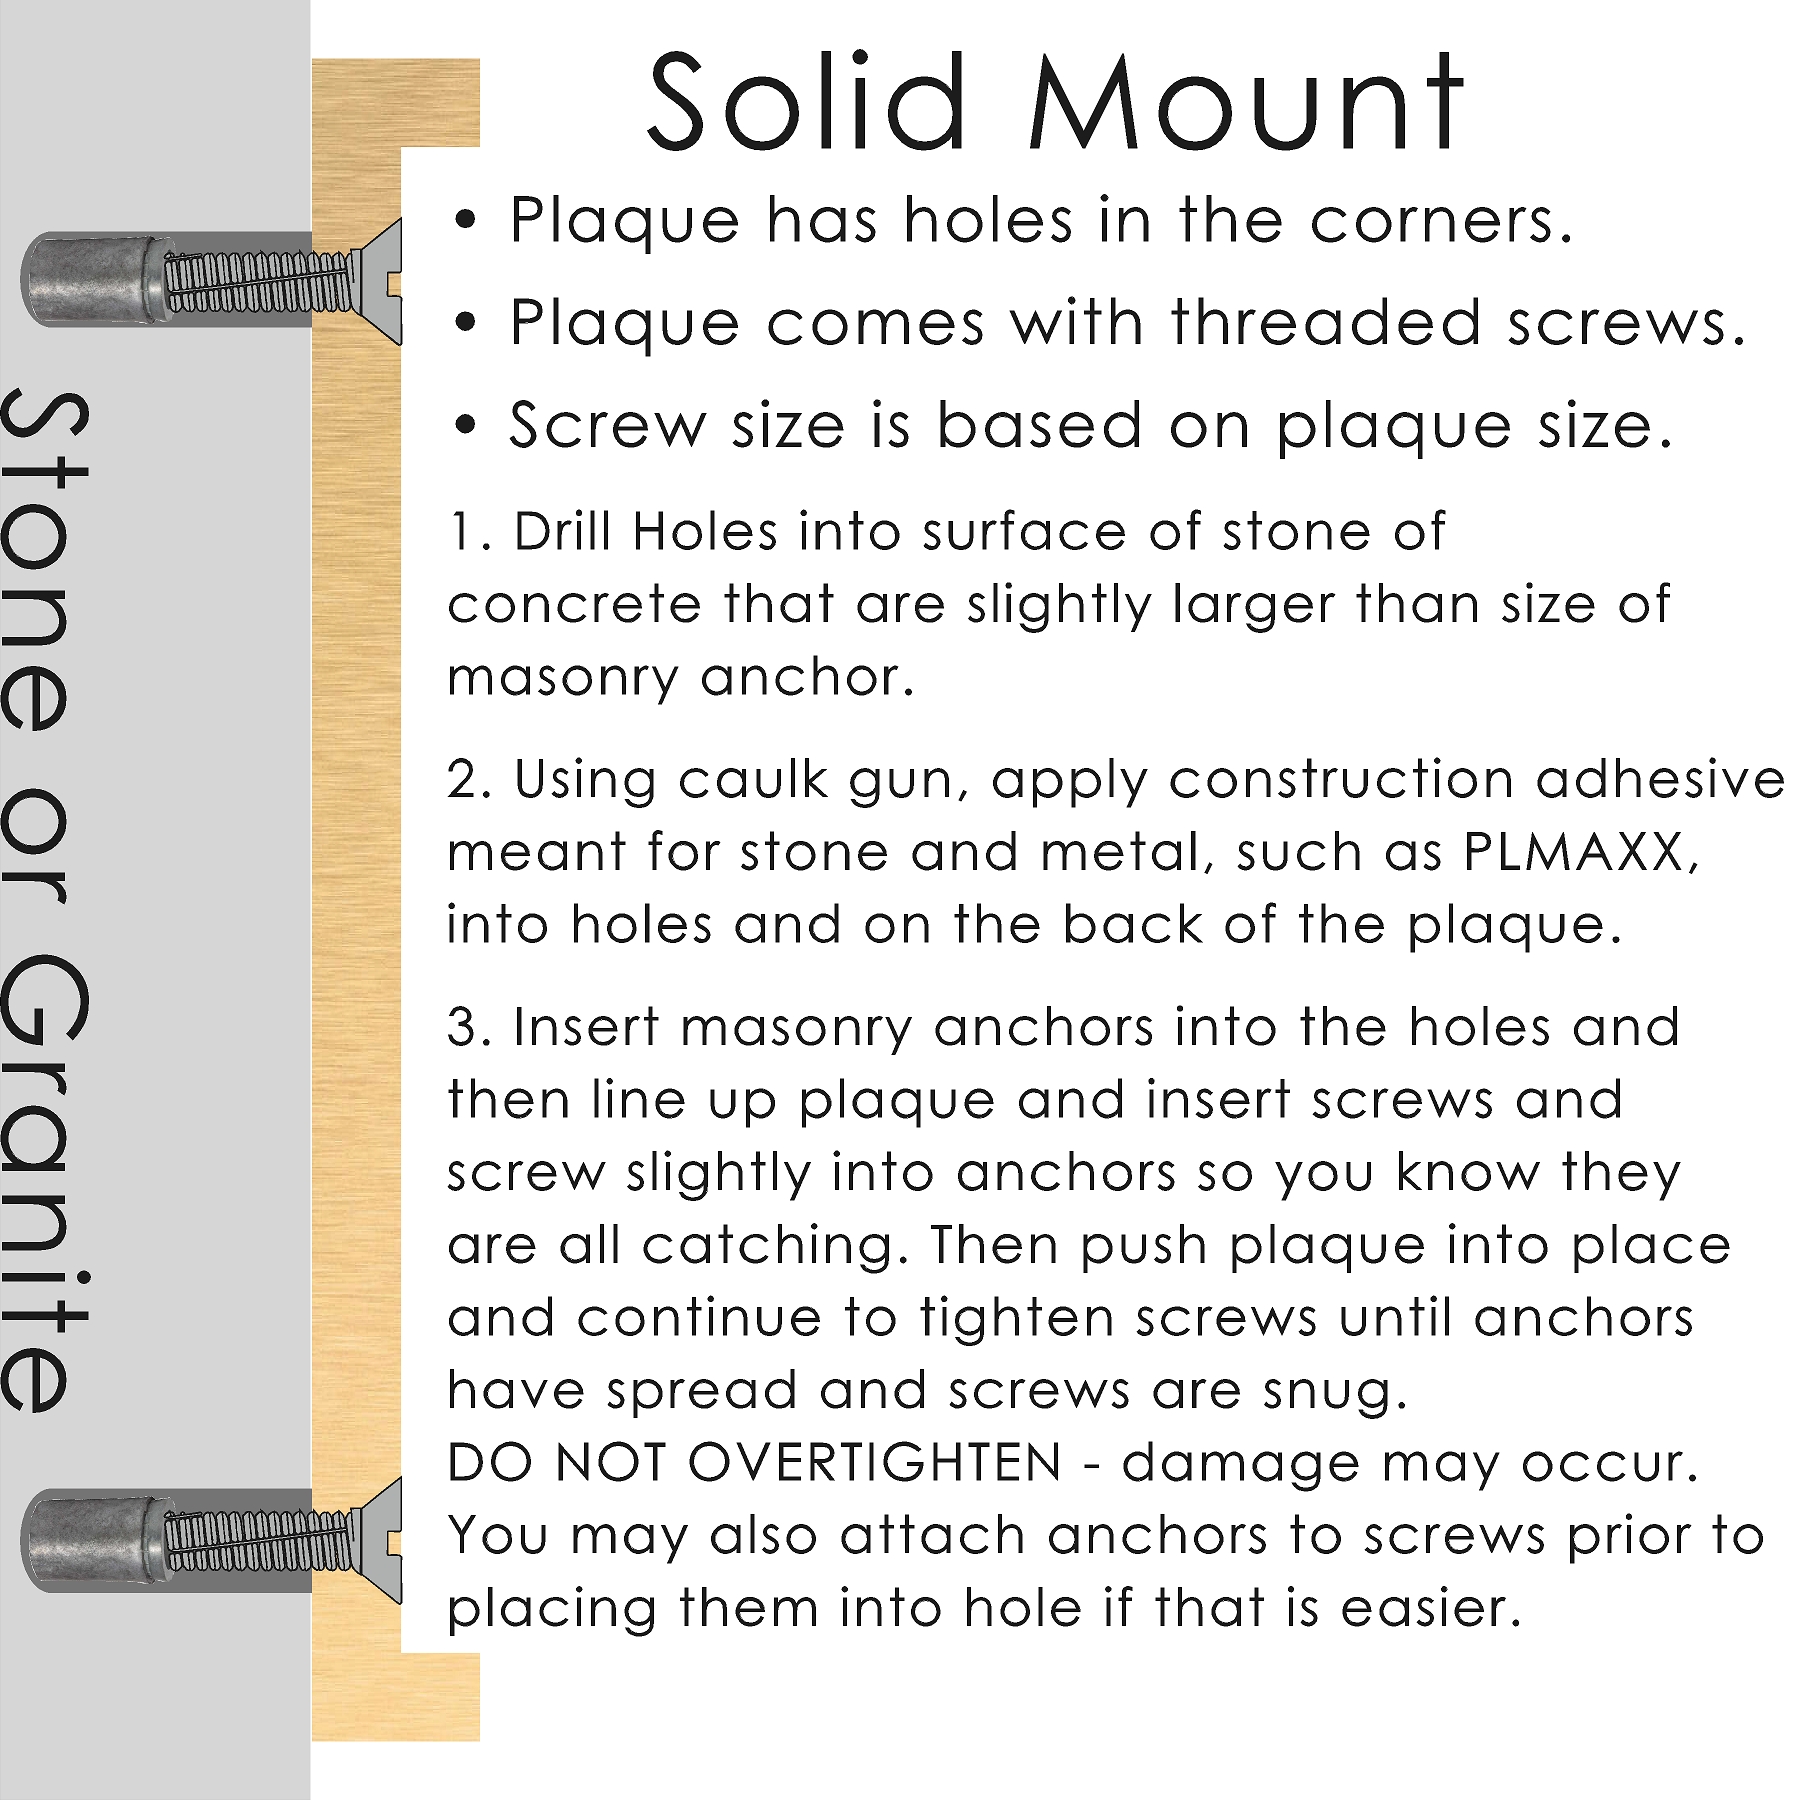
For solid masonry surfaces, using corner screws and masonry anchors.
What you get
How to install
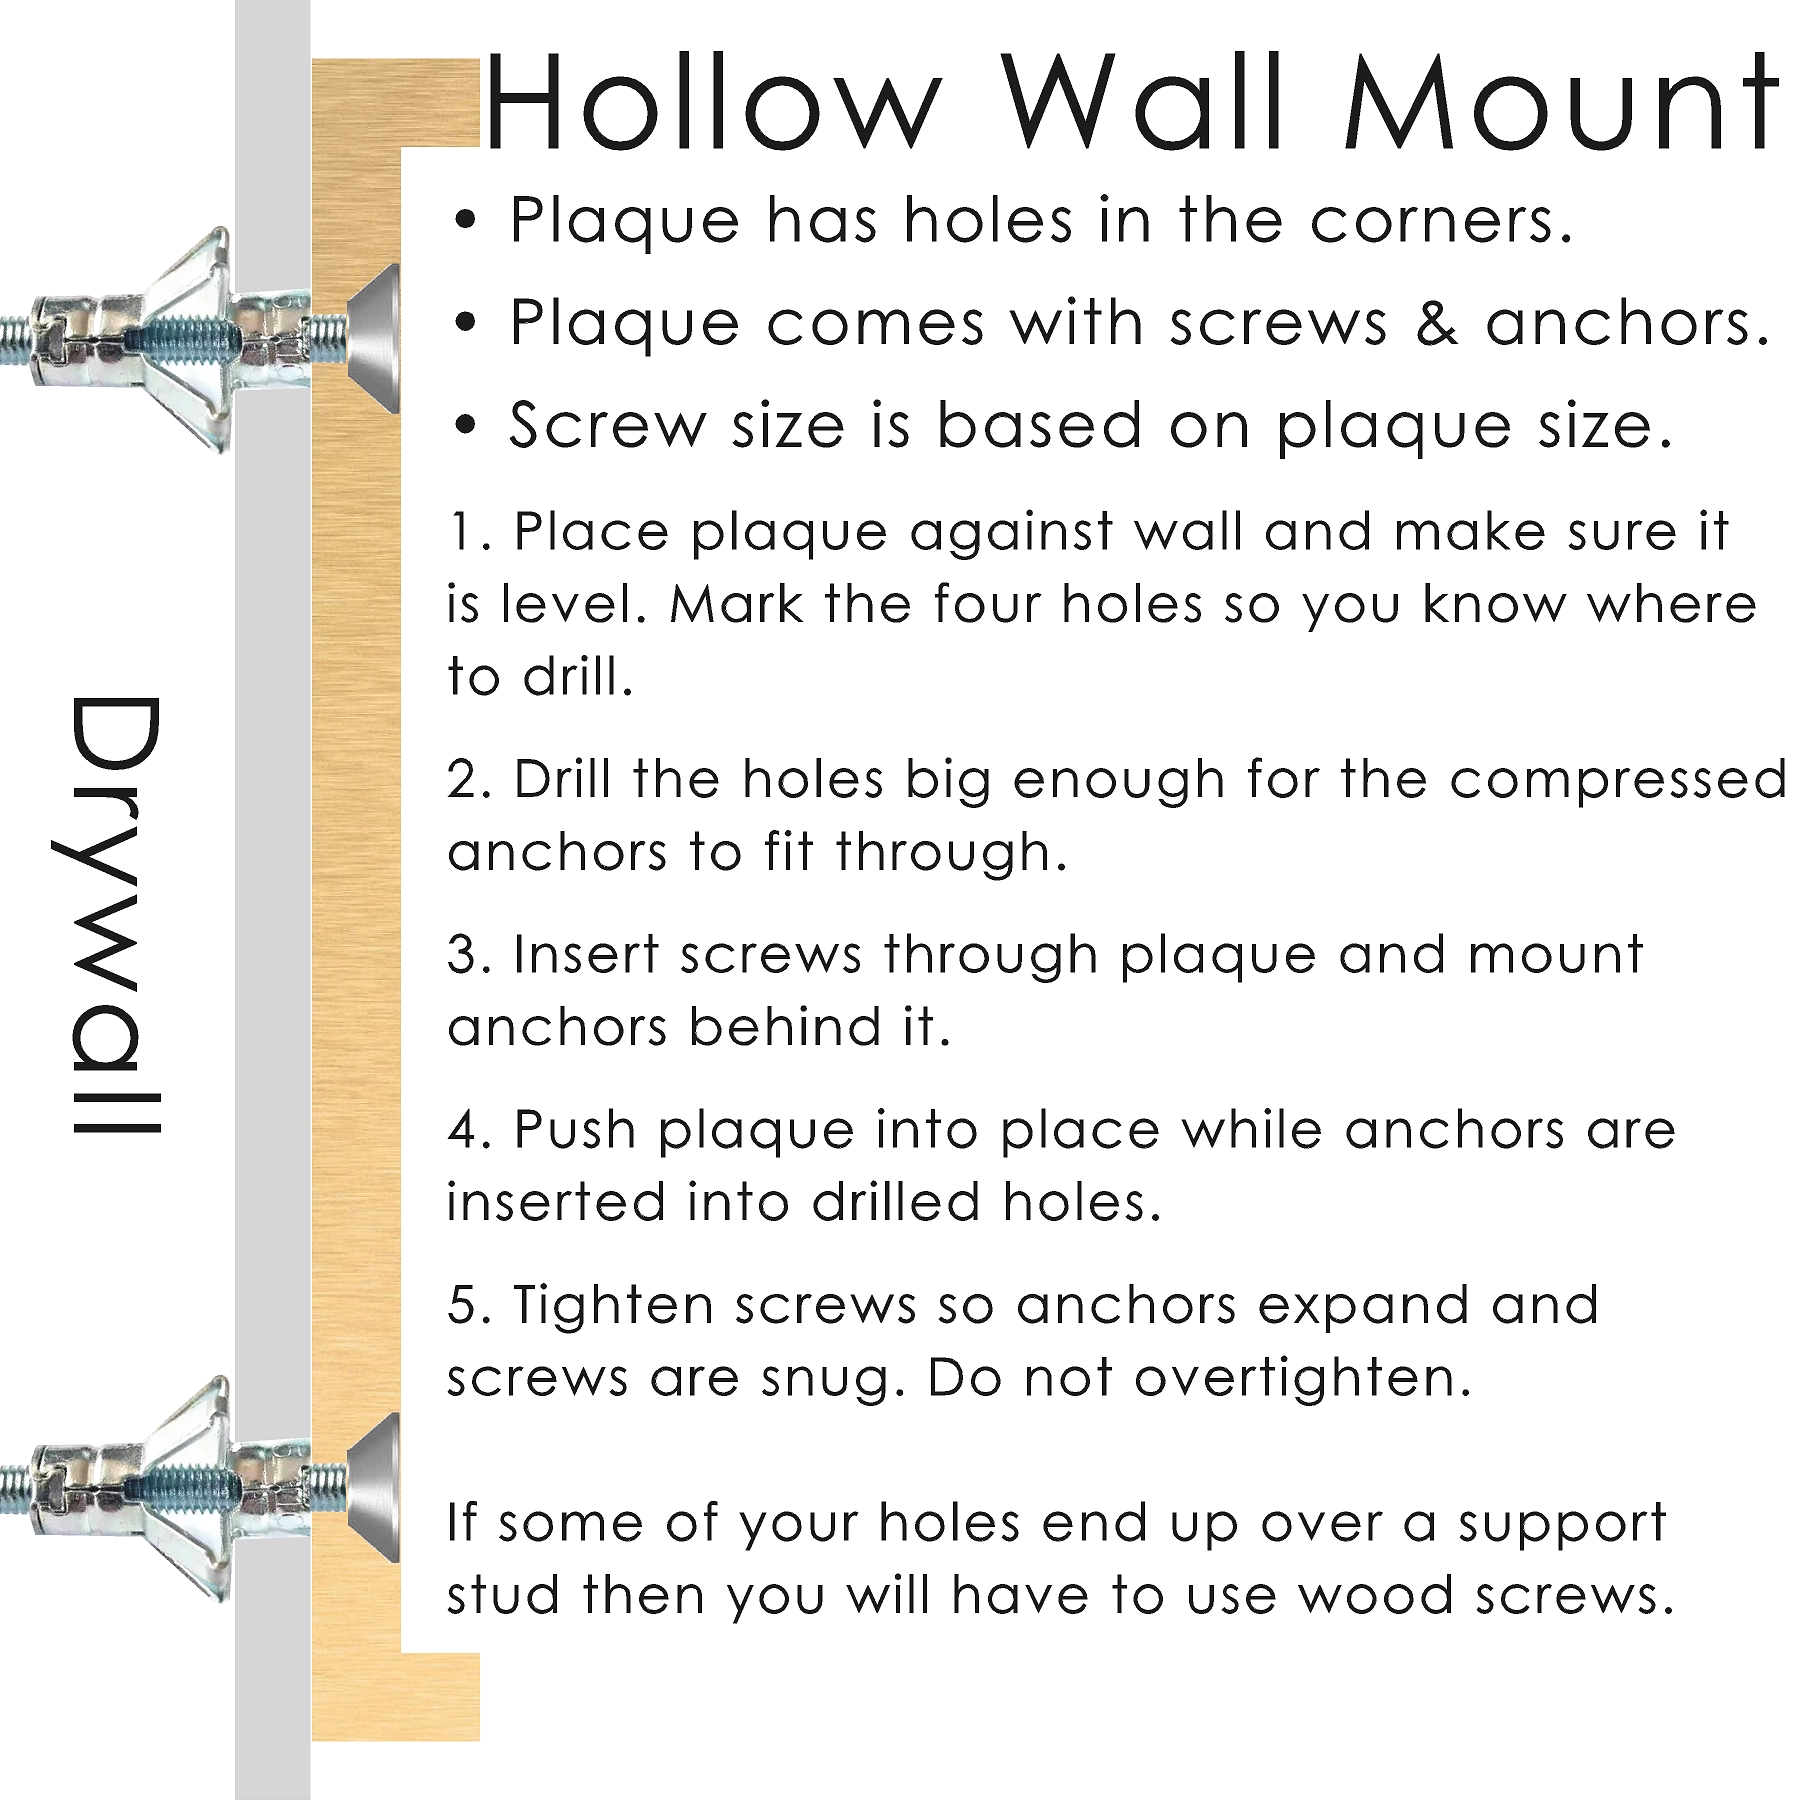
For drywall and other hollow walls, using toggle/expansion anchors.
What you get
How to install
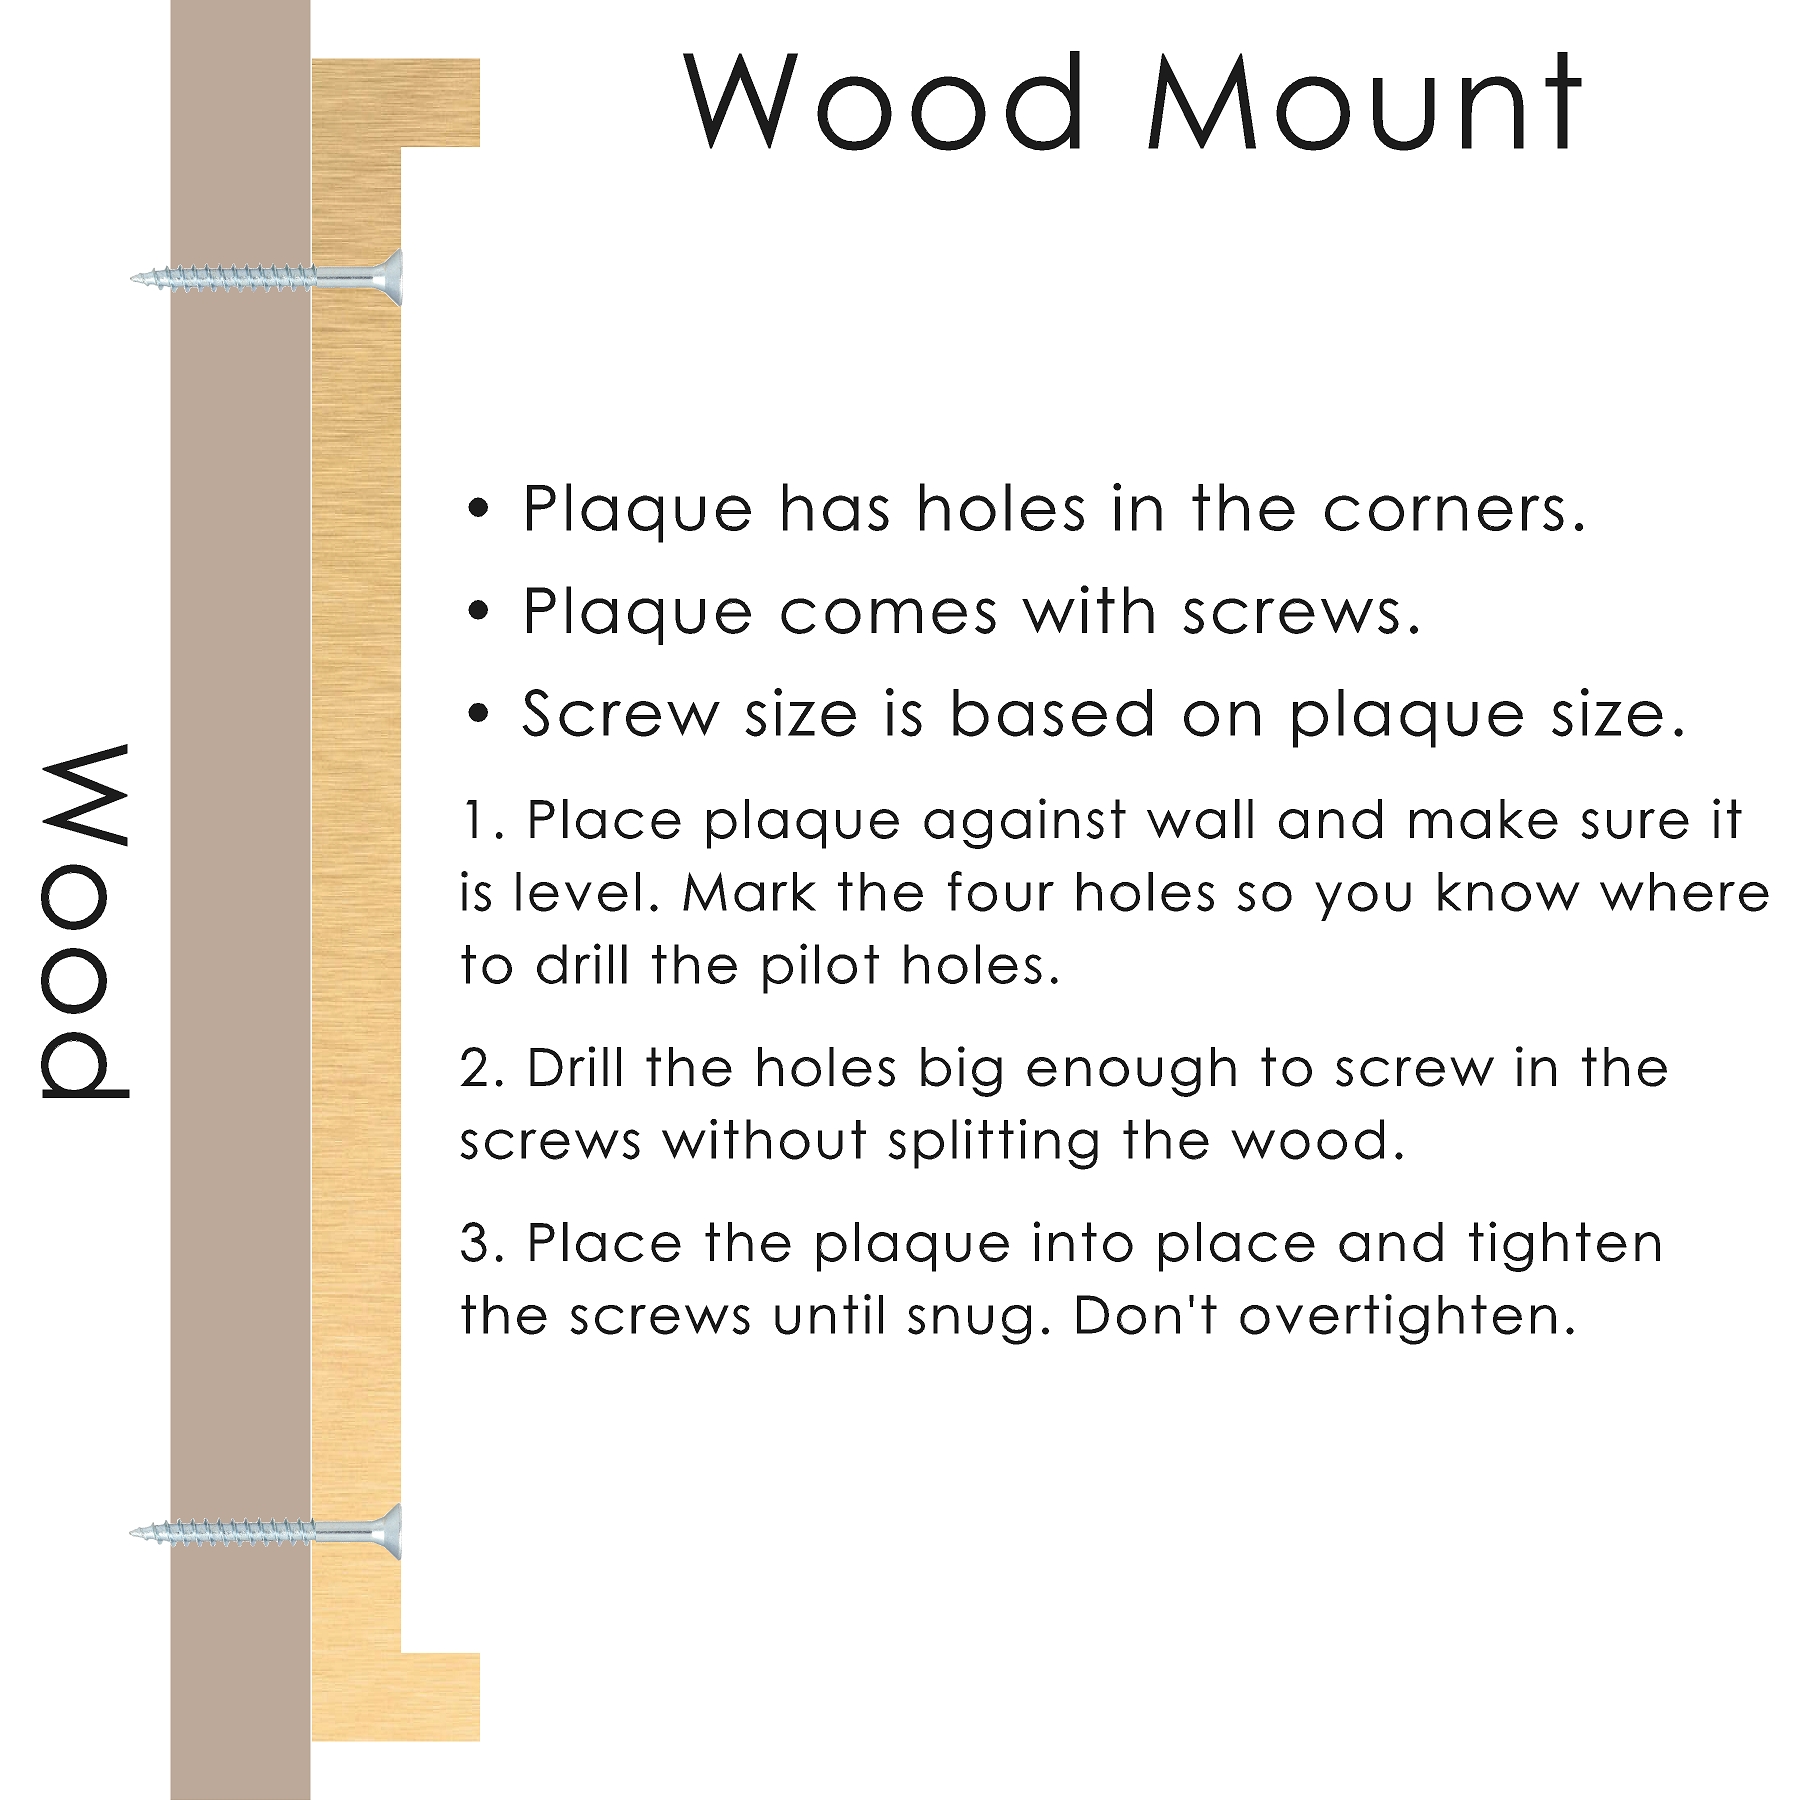
For wood surfaces, using wood screws into pilot holes.
What you get
How to install
For Blind and Solid mounts, use a quality construction adhesive (such as PLMAXX) both inside the drilled holes and on the back of the plaque. For outdoor installs, inspect the mounting points every few months and reinforce as needed.

A coated black garden stake with screws to attach the plaque — great for lawns, gardens, and soft ground. Up to two stakes per plaque, depending on size.
Specs
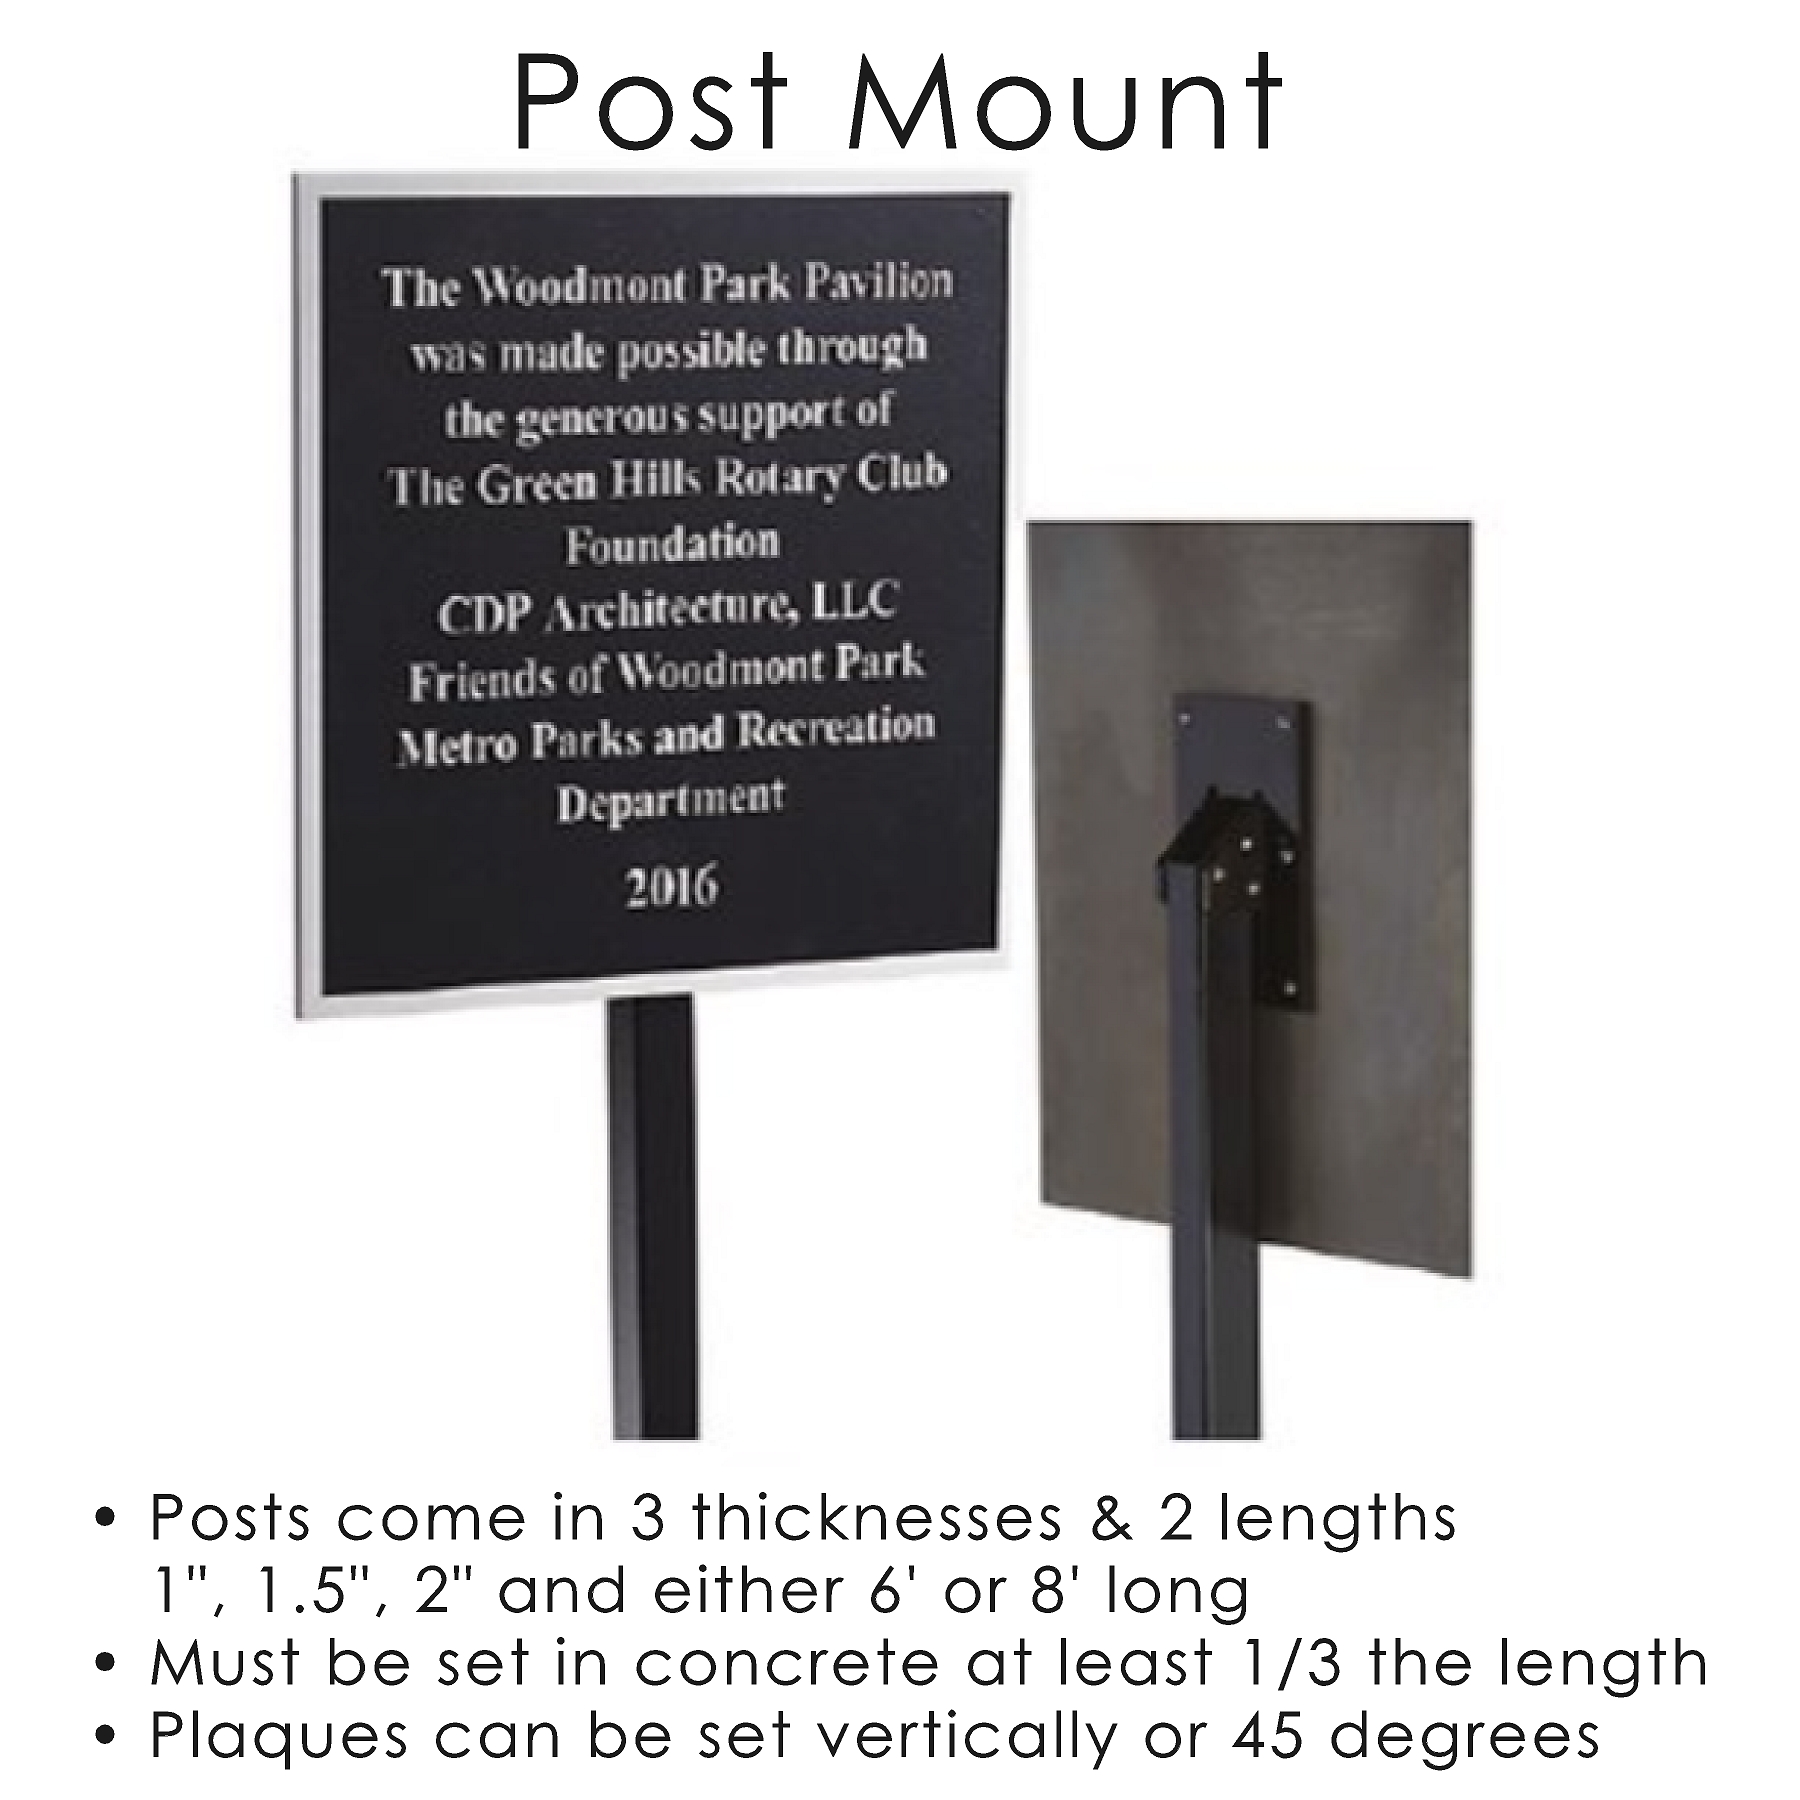
Black-coated aluminum brackets attach to the back of the plaque, and a square aluminum post bolts into the bracket at a 45° or 90° angle. Set the post in concrete at least 1/3 of its length.
Specs
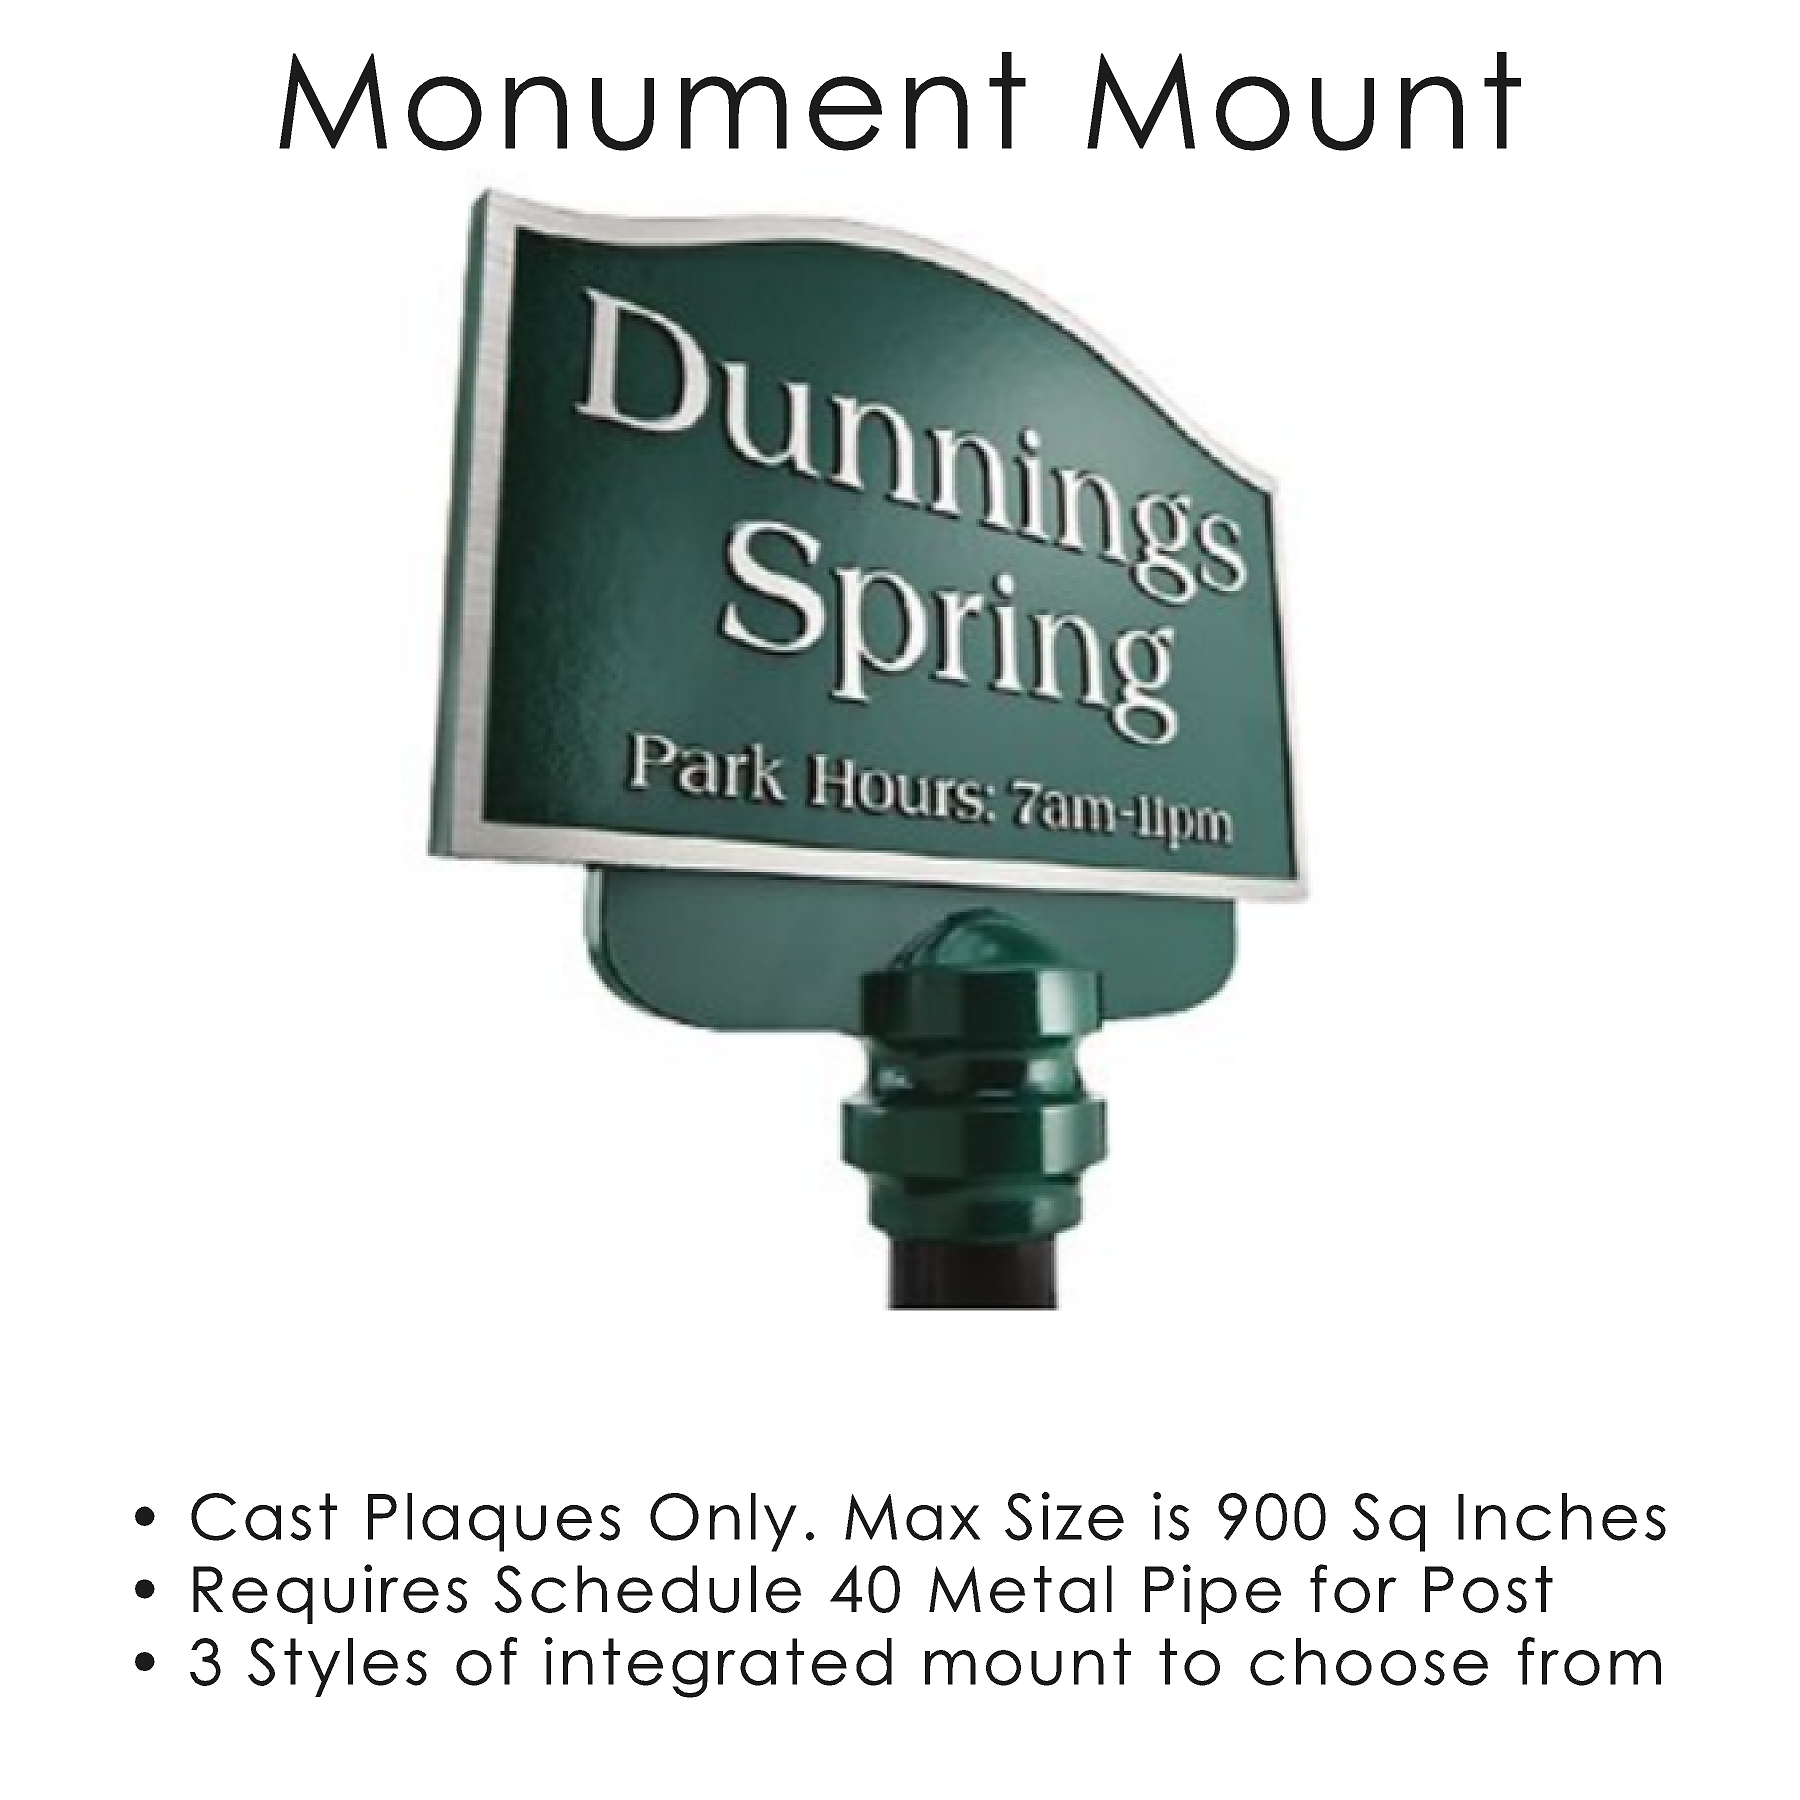
Cast as part of an aluminum or bronze plaque, the post cap mount fits 1-1/2 in, 2 in, or 3 in inside-diameter (ID) Schedule 40 posts. Available on most custom plaques, single- or double-sided, up to 900 sq in at 1/2 in depth. Posts are galvanized or painted the plaque’s background color, with a radius, angled, or ogee blade. A radius angle is standard; angled and ogee blades are also available.
Post cap mount sizing
| Max. Plaque Size | Blade Width | Post Cap Height | Post Cap I.D. | Schd. 40 Pipe I.D. |
|---|---|---|---|---|
| 16 in × 24 in | 10 in | 3-1/2 in | 2 in | 1-1/2 in |
| 24 in × 30 in | 12 in | 4-3/4 in | 2-1/2 in | 2 in |
| 30 in × 30 in | 18 in | 6-1/2 in | 3-5/8 in | 3 in |
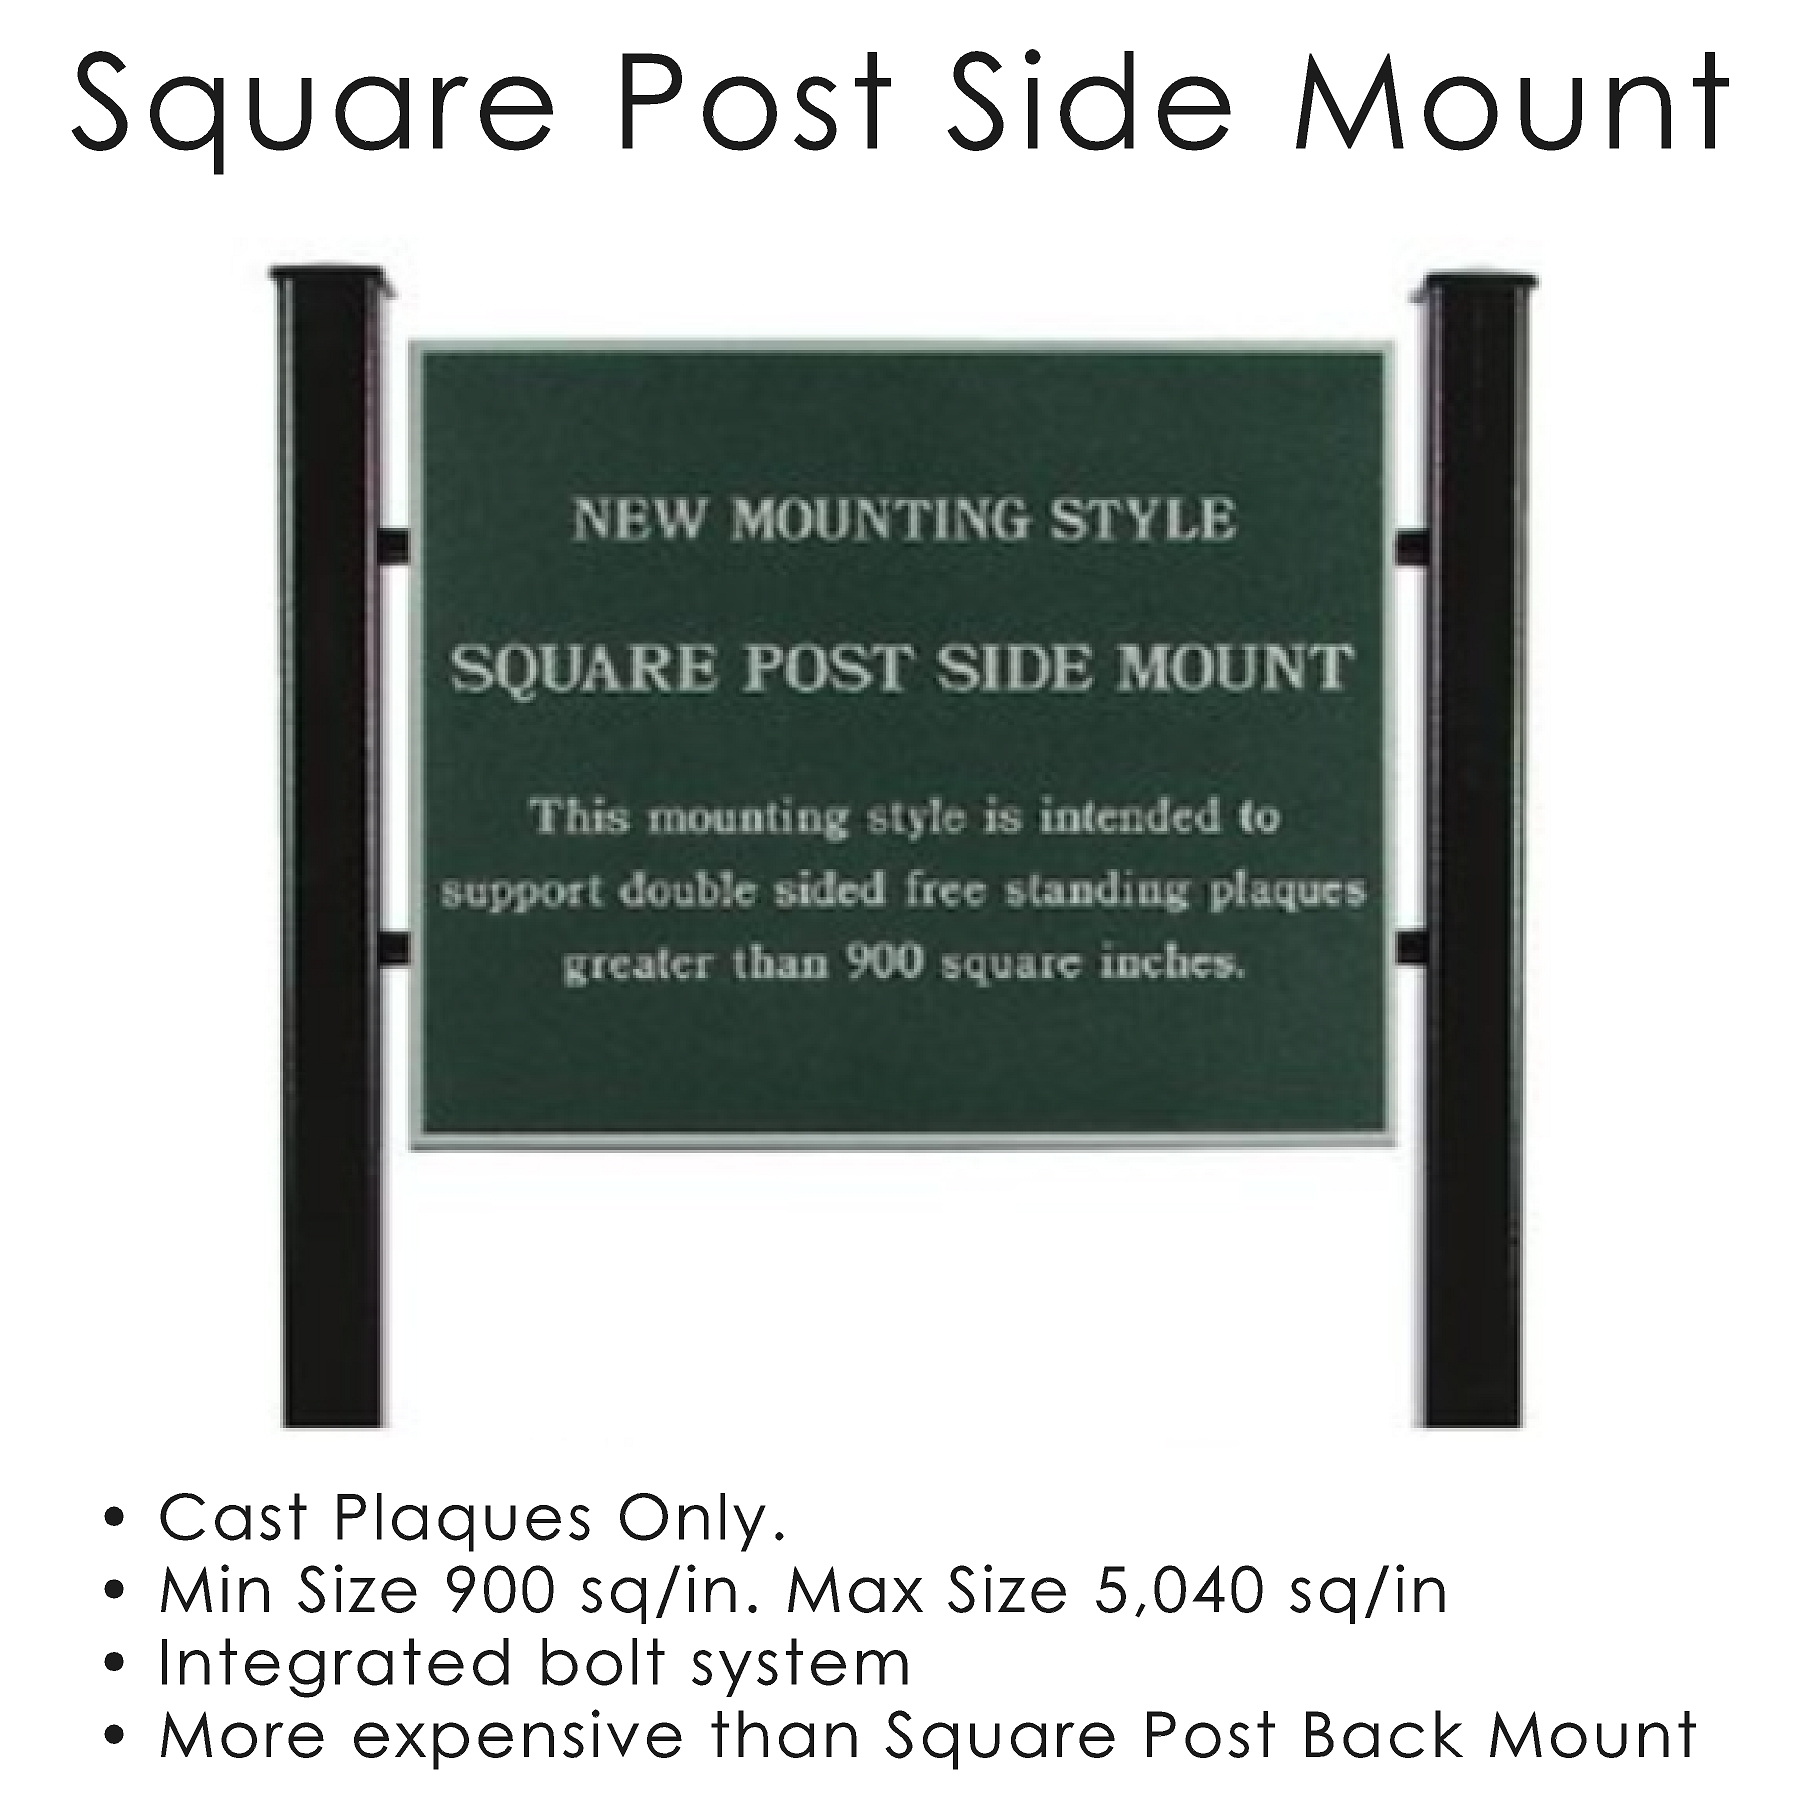
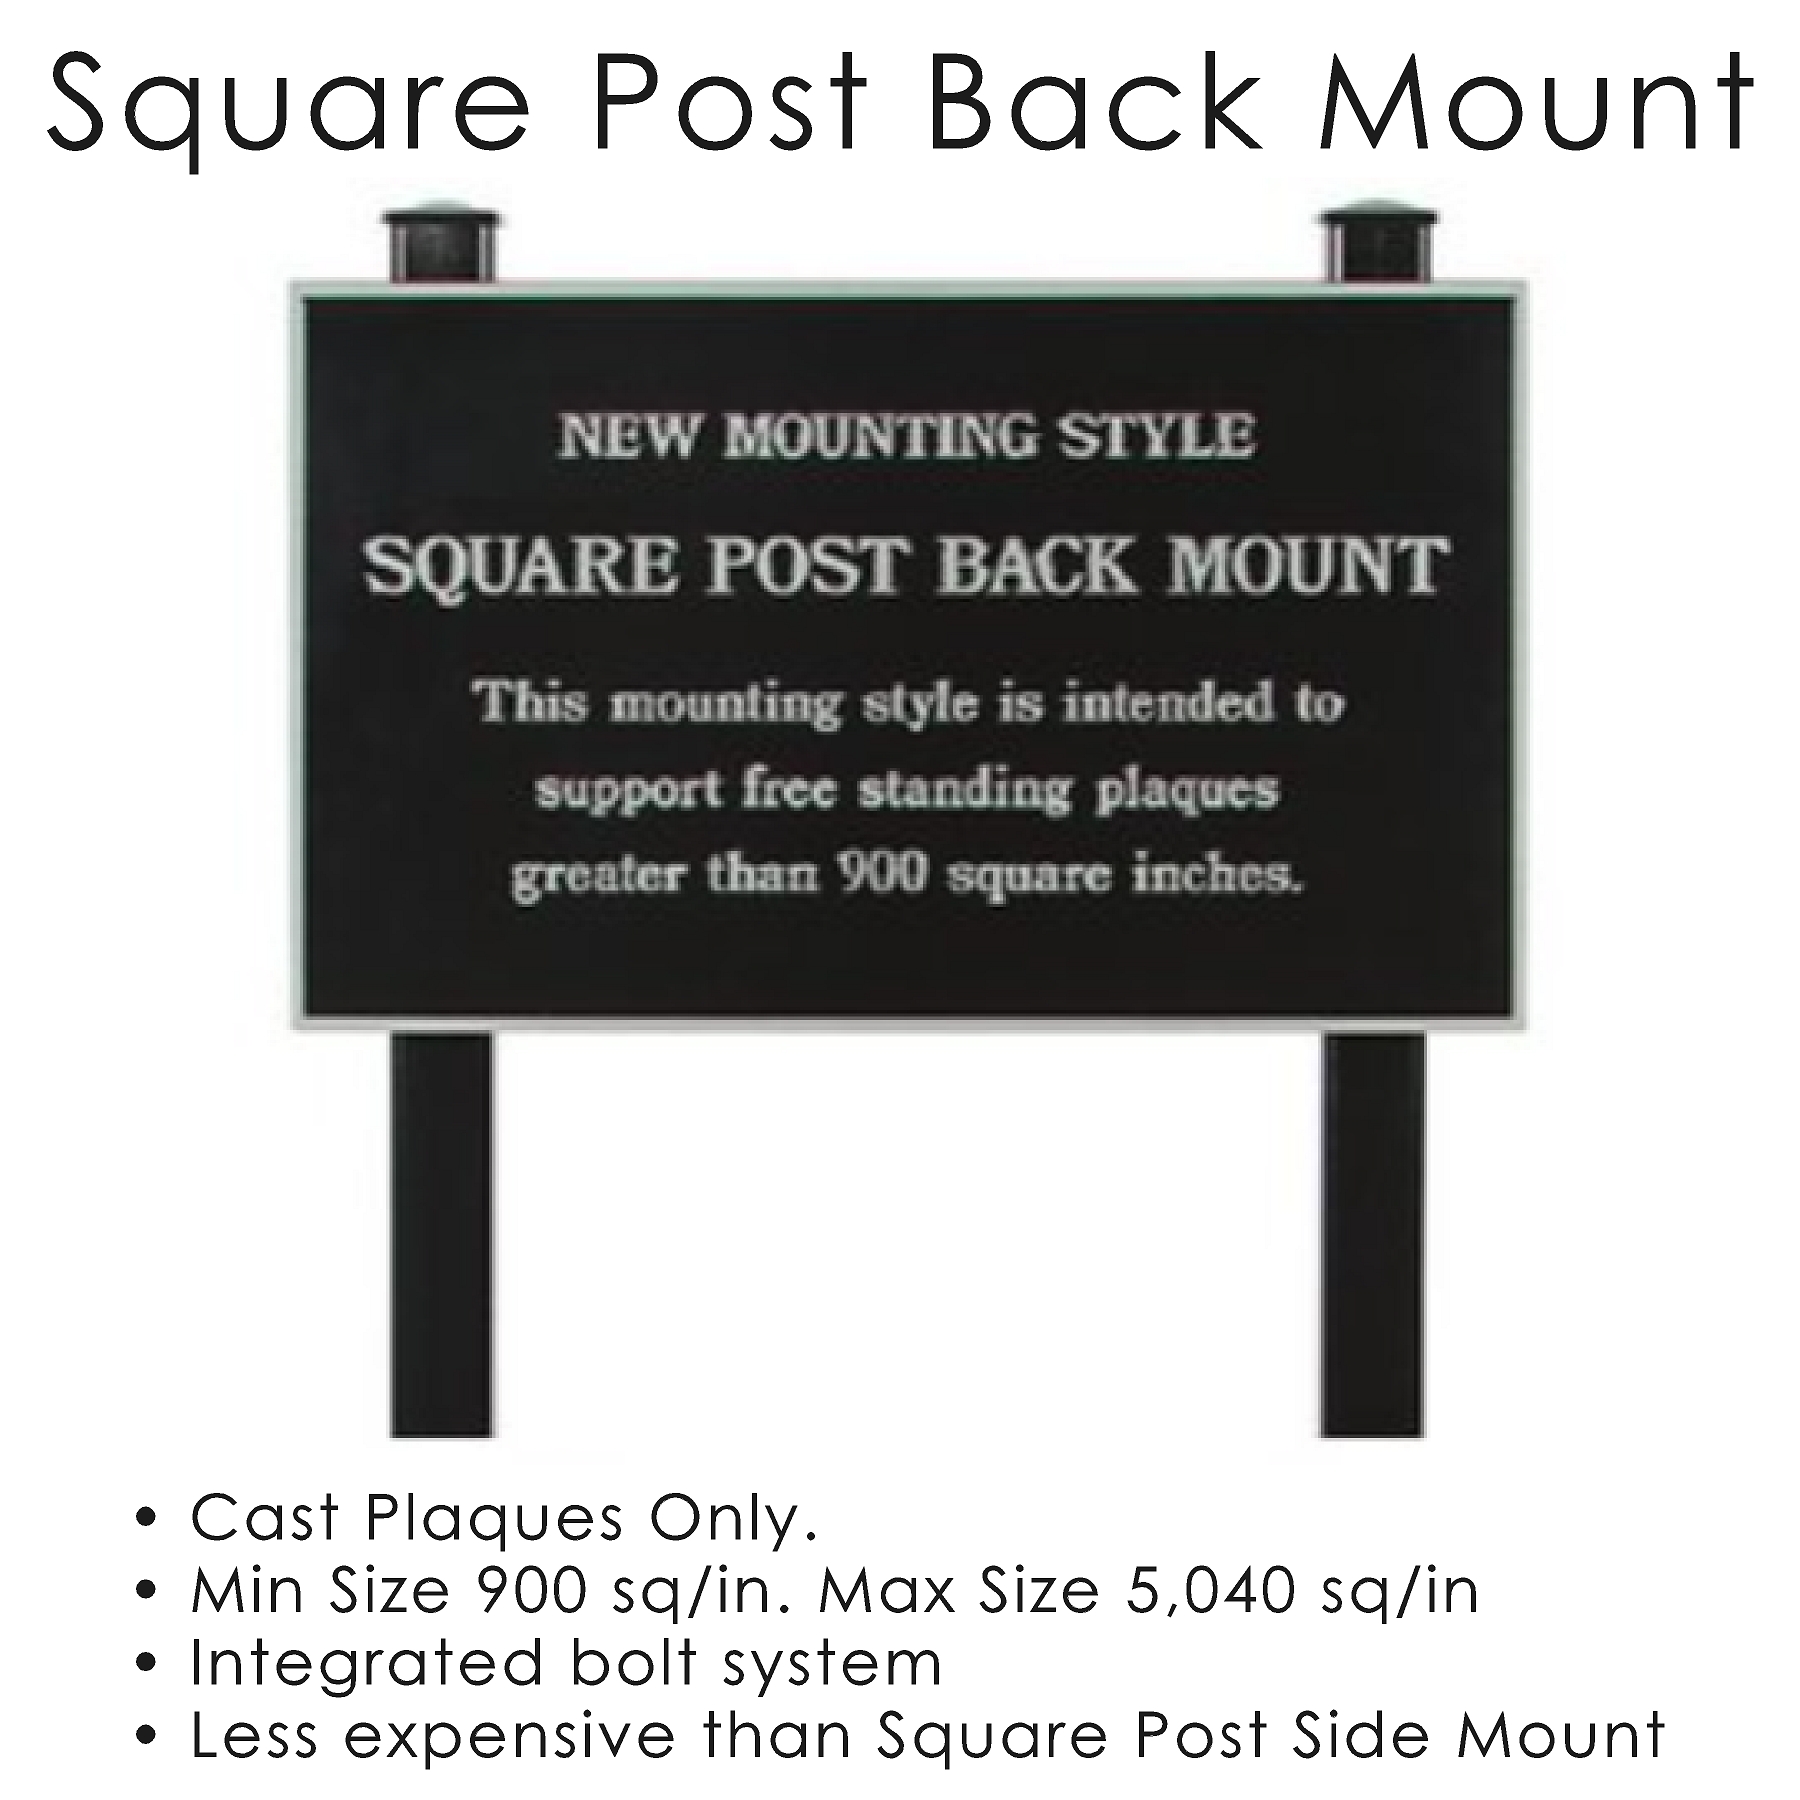
A free-standing mount for plaques over 900 sq in, using two steel posts. Copy can be applied to the front and back, and plaques can be double-sided (for front-copy-only plaques, the backs are finished). Posts are 96 in long in 2×2 in, 3×3 in, or 4×4 in, depending on plaque size. The system includes the posts and hardware; assembly needs only hand tools and can be done on site. Cast plaques only.
Post sizing
| Post Size | Max. Plaque Size |
|---|---|
| 2 in × 2 in | 1,512 sq in |
| 3 in × 3 in | 2,160 sq in |
| 4 in × 4 in | 5,040 sq in |
A free-standing in-ground mount for single-sided plaques up to 36 sq ft, using two or three steel posts. Posts are 96 in long in 2×2 in, 3×3 in, or 4×4 in. The system includes the posts and hardware; assembly needs only hand tools and can be done on site.
Post sizing
| Post Size | Max. Plaque Size |
|---|---|
| 2 in × 2 in | 1,512 sq in |
| 3 in × 3 in | 2,160 sq in |
| 4 in × 4 in | 5,040 sq in |
Tell us your surface (stone, masonry, hollow wall, wood, or freestanding), the plaque’s size, and where it will live, and we’ll recommend the right mount and include the correct hardware with your order. For step-by-step installation help, see our Plaque Installation guide.
Tell us your surface and plaque size — we’ll recommend the right method and include the correct hardware. Get a free quote and proof to get started.